How to Edit Videos with KineMaster: Those of you who are thinking of creating a new YouTube channel, providing video content there or making a release, first choose the KineMaster application. If you want to edit videos through this application, you need to be familiar with several features. If you know when and where to use its special tools, you can easily edit professional-level videos through your mobile. So today we will discuss how to edit videos through KineMaster!
What tools do you need to learn to use when editing videos in KineMaster?
If you want to learn how to edit videos in KineMaster, there are some tools in KineMaster that you need to learn how to use first, only then can you make good quality videos. If you buy KineMaster Premium, you will get several advanced features for free that you can use to edit videos with movie-like graphics, but let’s not know about all those tools.
kinemaster tutorial | Kinemaster all Tools
Kinemaster Basic Tools
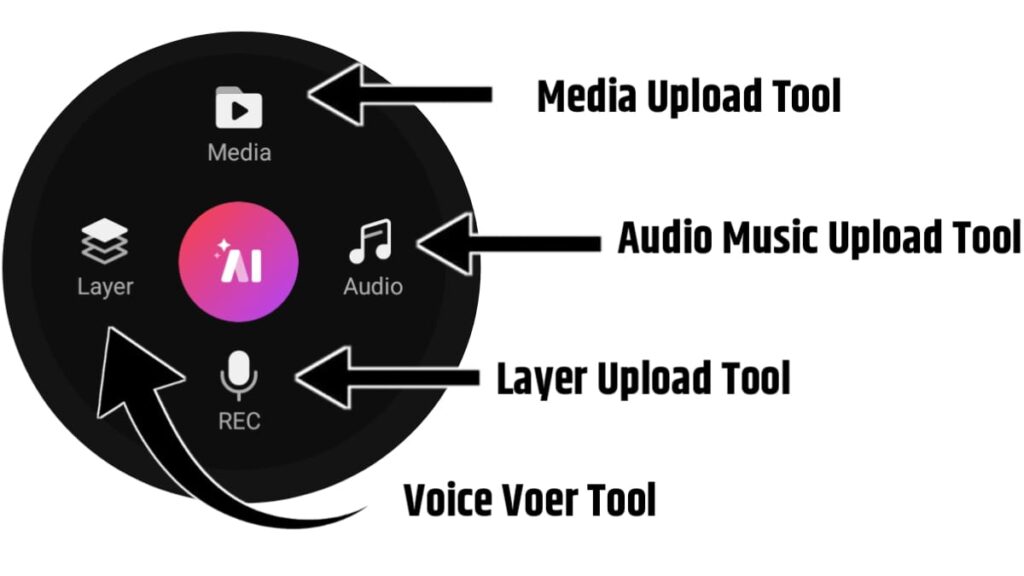
- Media Upload Tool
- Audio Music Upload Tool
- Layer Upload Tool
- Voice Over Tool
Media Upload Tool: The importance of this tool is immense. With the help of this tool, videos are uploaded from your gallery into KineMaster, and then you can cut, edit, overlay, and add graphics to it as you like.
Audio Music Upload Tool: This tool works if you want to add or upload any music song or voice to your video. You can upload any voice or music from your gallery directly from here.
Layer Upload Tool: This tool is basically if you want to upload or show any layer or short video or any picture or sticker on your video then by clicking on this tool your phone’s gallery will open and you can add any video image or sticker in the gallery directly as a layer on your video. Those who edit professional videos know how to use this tool well.
Voice Over Tool: Usually we use this tool to upload our own voice over the video, click here the timing will start and you can add your voice here during the video. This is of immense importance for life streamers.
I have given you a detailed idea of how to use these for a long time. Now, I will discuss the main things that you can do to learn how to edit your videos well so that you can become more proficient in your content creation journey.
How do I edit a video on KineMaster? How to Edit Videos with KineMaster
Now after uploading the video, the clip will be visible on the timeline. Here you can do video cutting, trimming, cropping, etc. If you want to delete any part, you can also do it. Also, KineMaster has a multilayer support system, which means you can add images, text, stickers, voice overs, and even other videos along with the video.
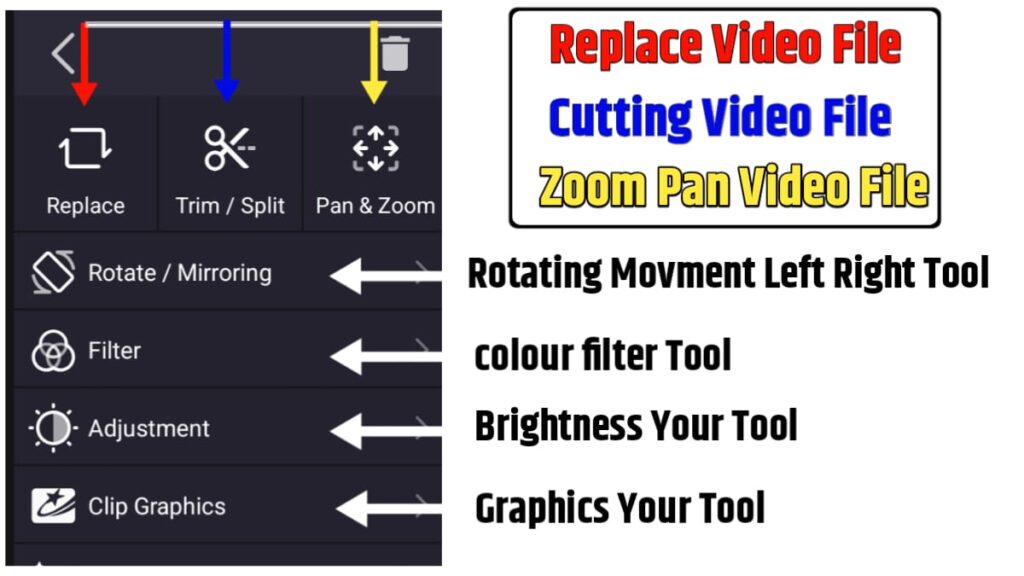
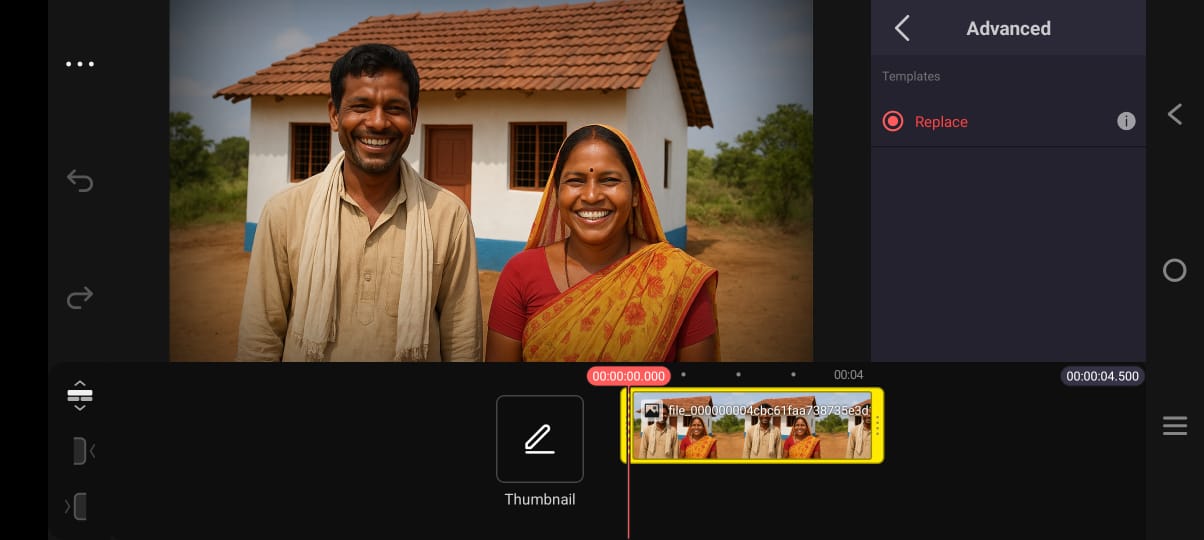
- Replace
- Trim / Split
- Pan & Zoom
Replace Tool: The main function of this tool is that if there is a problem with the video you have uploaded, you can replace it from here. For example, if you are going to upload a tech video and your educational video has been uploaded, in that case you will need the tech video, then you can change that video by clicking on the replace button.
Trim / Split: If you need to split the video in two from the middle or cut some parts from the front to the back with the help of this error, then this tool is of immense importance. If it is six minutes long and you need five minutes of video, then you can delete that one minute of video, you can keep the remaining 5 minutes of video, you need to take the help of this tool to do all these tasks.
Pan & Zoom: If your video or project is small and you want to adjust it according to your skin, then you need to take the help of this tool. Through this, you can resize the video to different sizes.
How to you use KineMaster’s coloring and graphic tools?
How to keep the color of the video when editing a video in KineMaster, what type of color is used in which video, and how to make the video more professional. The most important thing about these coloring tools is that you can present your video to the audience with a professional look.
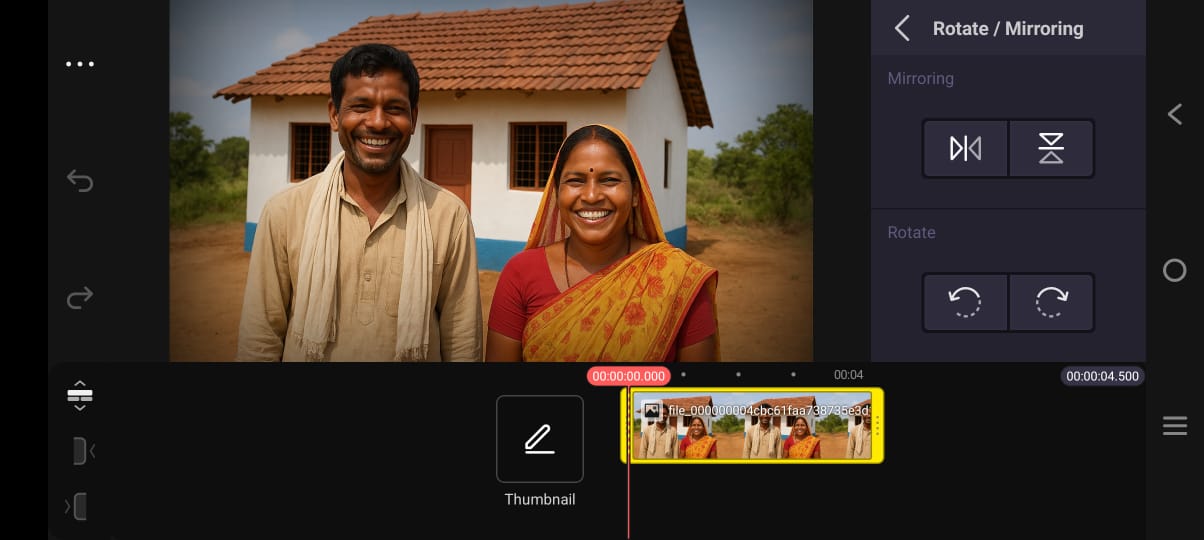
- Rotate / Mirroring Tool: If you want to place your video from right to left, from left to right, or top to bottom, this tool will do the job.
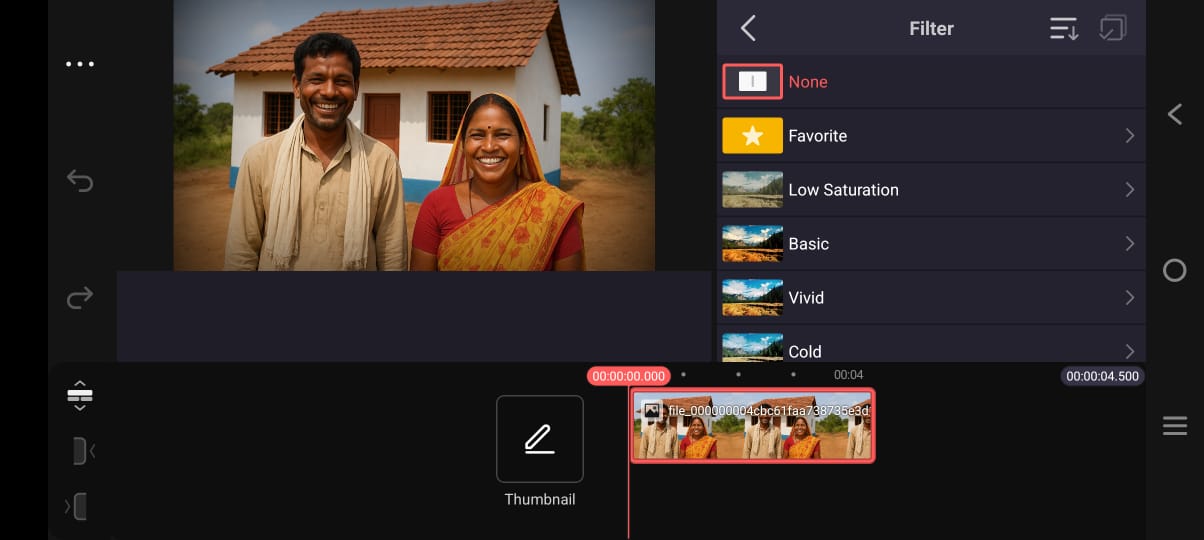
- Filter: With this tool, you can change the color of your video if you want. Here you will find different types of colors. You can make the video more attractive by selecting the color according to your choice.
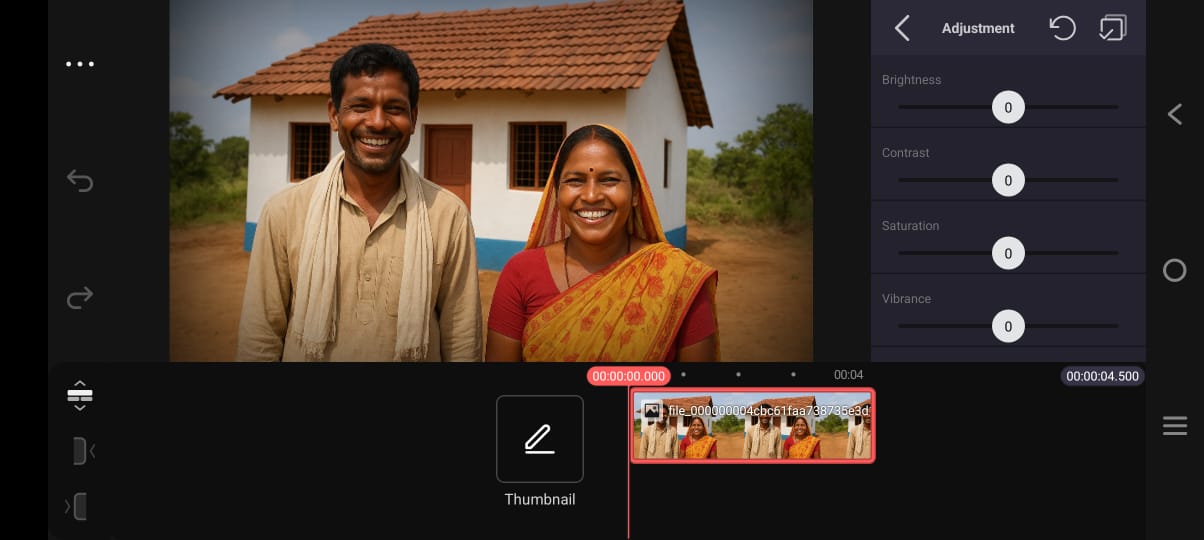
- Adjustment: With the adjustment tool, you can change the brightness, contact structure, etc. of your video to make it look beautiful and appealing.
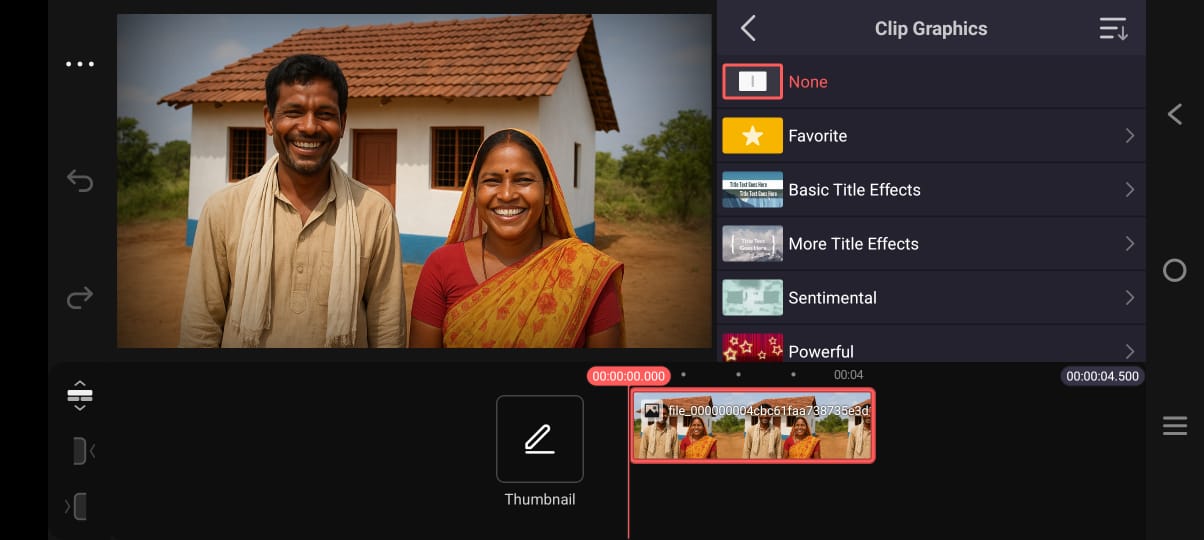
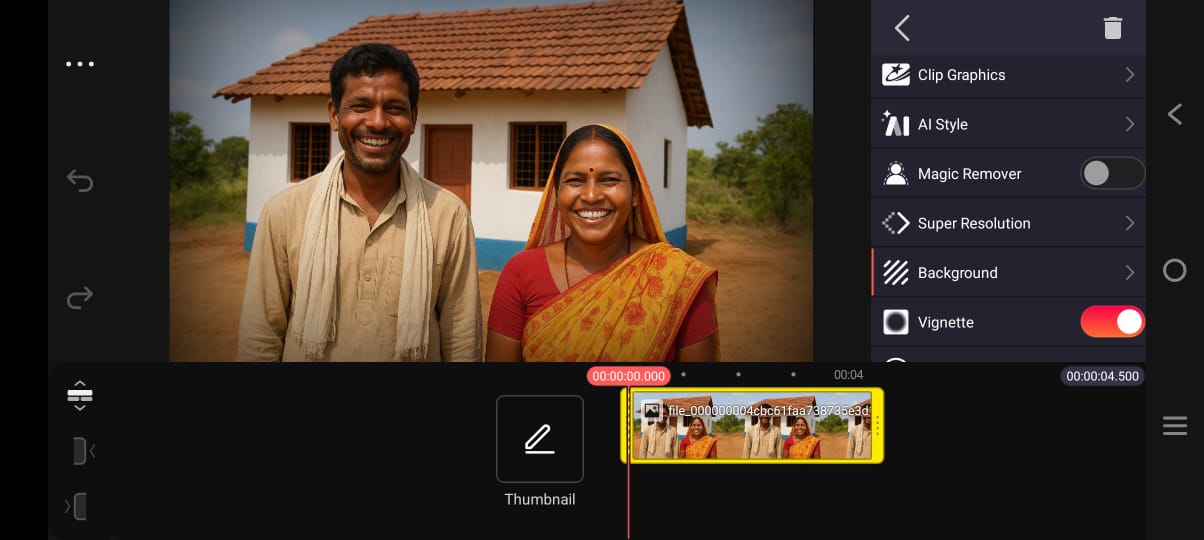
- Clip Graphics: With the help of the Clip Graphic tool, you can create title text and various types of presentations on your videos. You may have seen that in movies, titles are shown before the movie starts, then some descriptions are shown, some text is shown, all these tasks can be done with this tool.
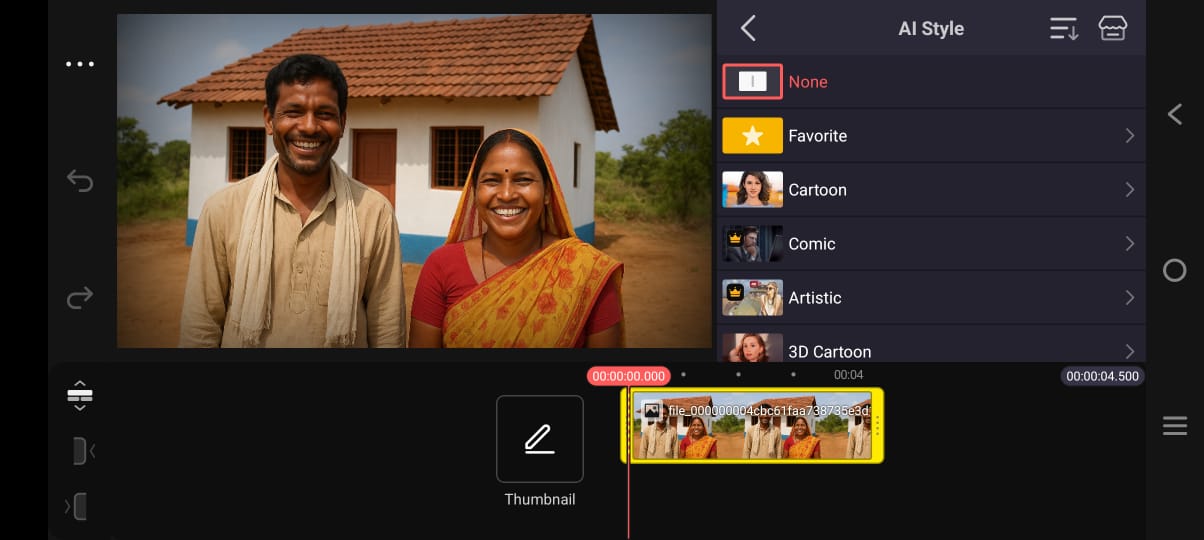
- AI Style: This tool has added AI features to make your videos more engaging. You can create AI content in your videos through this tool. In the current era, most videos are being created on AI, so the importance of this tool is immense.
- Magic Remover: With the help of the Magic Remover tool, you can easily change the background of your video. Suppose you are standing in a place where you have taken a video and you do not want that place to be shown in the video, then you can use this tool to remove the background.
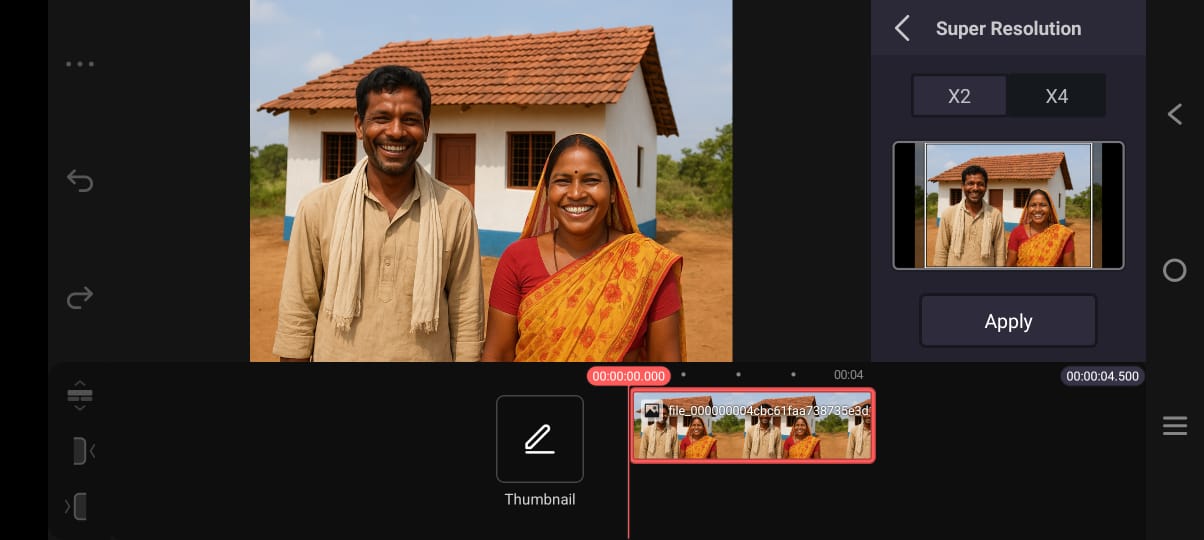
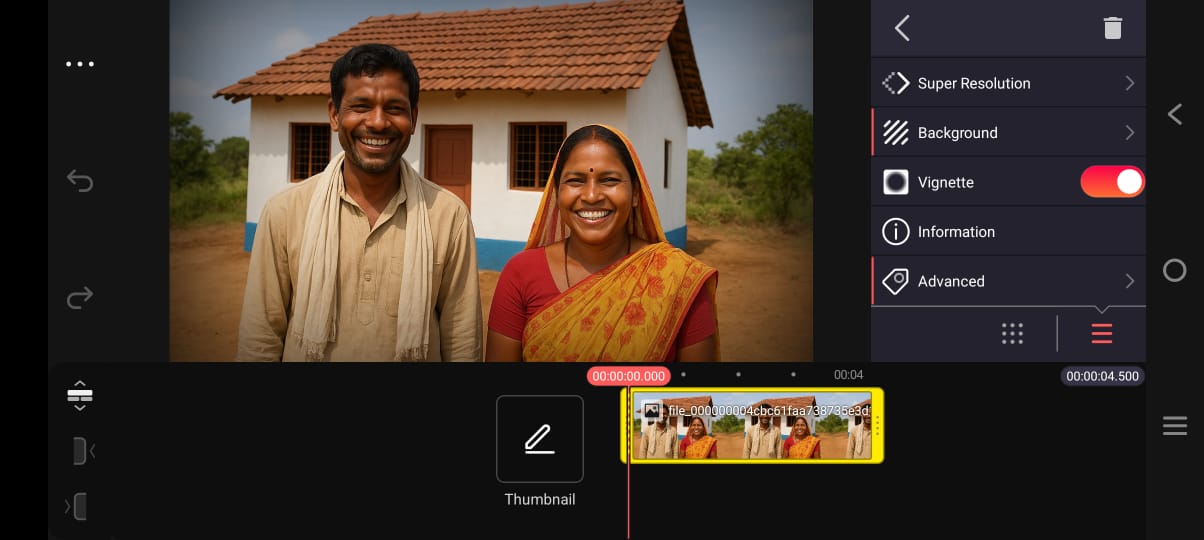
- Super Regulation: Super Regulation Tool usually refers to a tool that helps in providing additional control over the entire system or app. It controls the background processes of your project. It helps in creating higher quality videos.
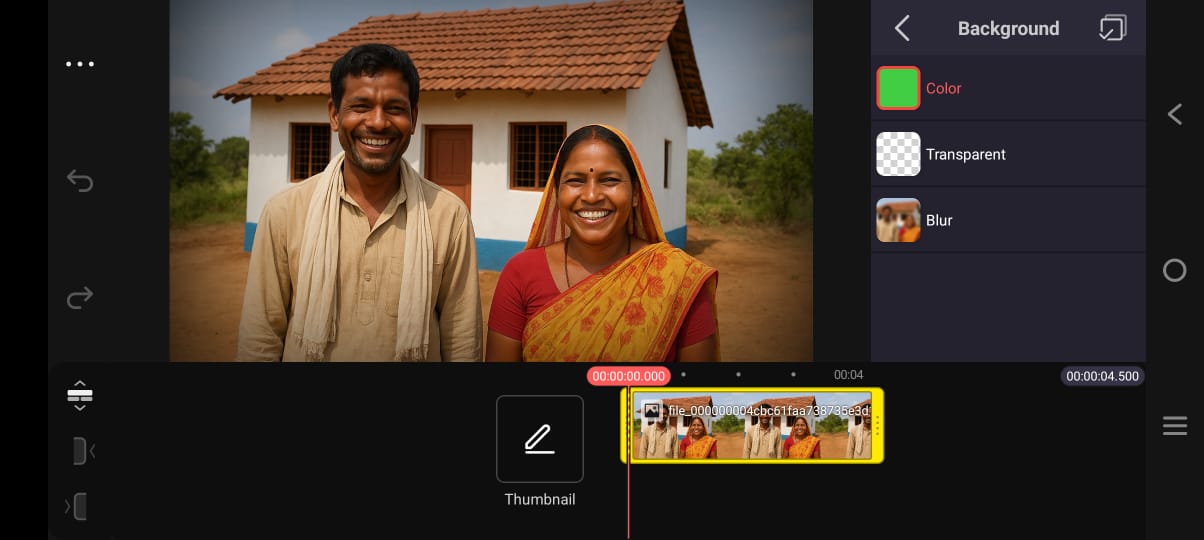
- Background: This tool is used to change the background of a video layer. It allows you to add and change the colors of different groups.
- Vignity: With this tool, you can change the color of the video a little so that the video looks a little old. Those who make videos with some special memories from the past. In that case, this color is used to convey in the video that the history of the old days is made more interesting by using this color.
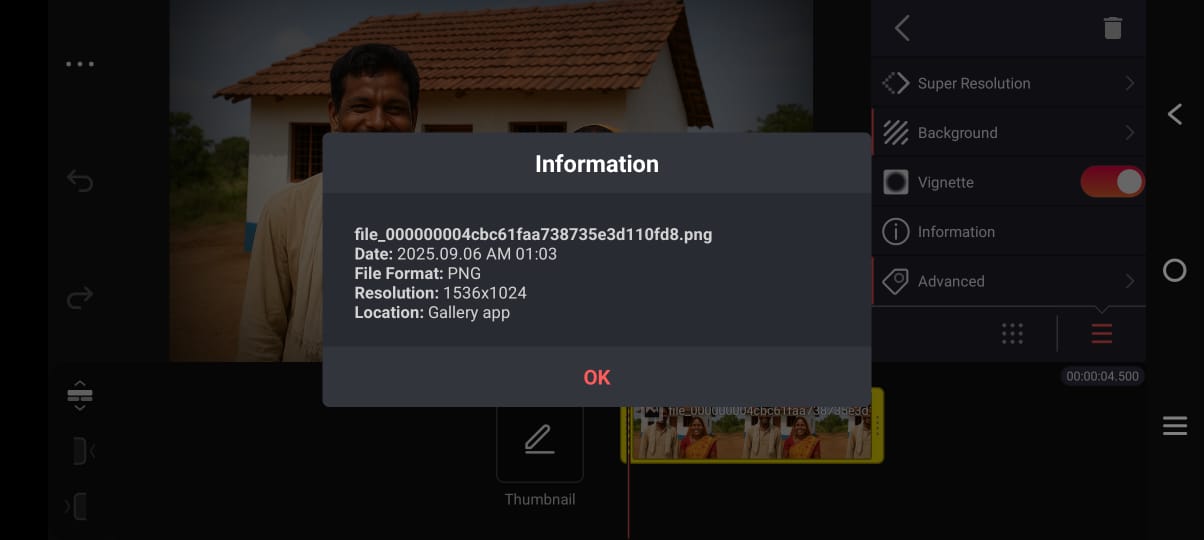
- Information: Here you will find complete information about your video, such as the name of the video, the size of the video, and the date you uploaded it. All the detailed information is stored through this information.
- Advanched: By clicking on the Advanced Features option, you can add several features to your video, such as green skin and the quality of your video. All these are available in Advanced Teacher, but you will get all these services only if you buy premium. These are not available in the free KineMaster.
We hope that after reading this content we have written, you will understand how to edit videos in KineMaster and what are the functions of all the functions of KineMaster. If you want to work at a professional level, then of course, start using all these tools of KineMaster today, only then will you be known as a successful content creator. Thank you.